How easy is it to tie a tie?

A tie is a stylish addition to a strict business suit. Correctly selected accessory gives a man a solidity. A properly tied tie emphasizes the refined taste of the wearer. It is worth getting to know the basic rules for tying a tie and study the patterns.

Fundamental rules
Men's clothing stores offer a ton of different ties that vary in color, price and texture. With such an abundance, it is not surprising for a beginner to get confused. And sellers can not always give sensible advice on choosing a tie. Moreover, not everyone knows how to tie a tie properly. To make the purchase really happy, you should familiarize yourself with the rules in advance. So, to pick up this stylish accessory, you need the following.
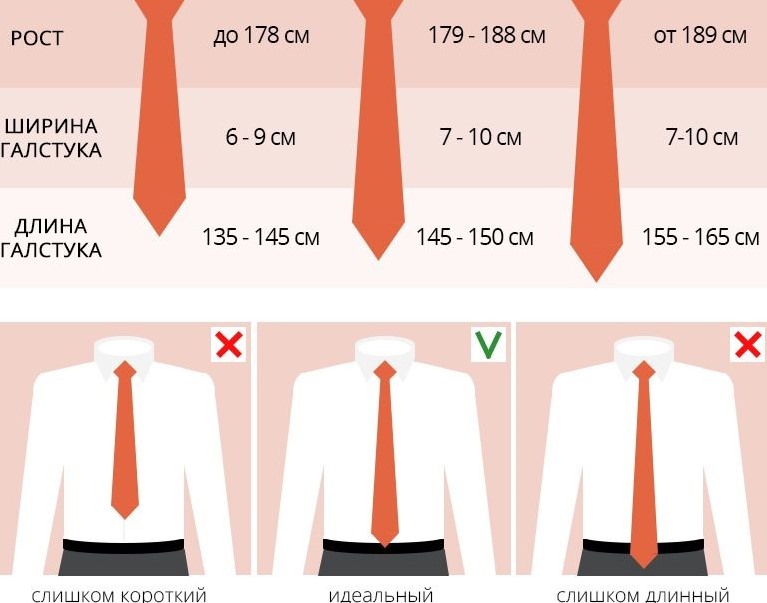
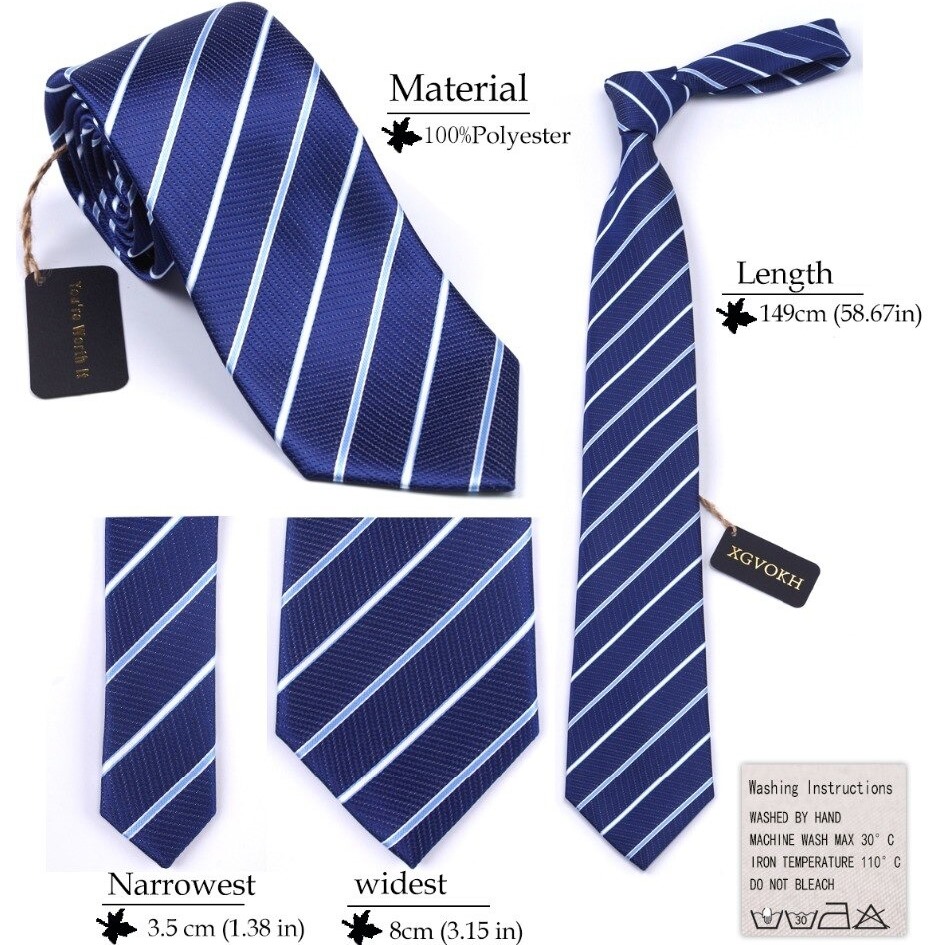
Determine the length of the tie using an electronic calculator. A simple calculation system will allow you to find out the length of the product based on the height of the person and the size of the collar. The resulting value should be written down and go to the second item.
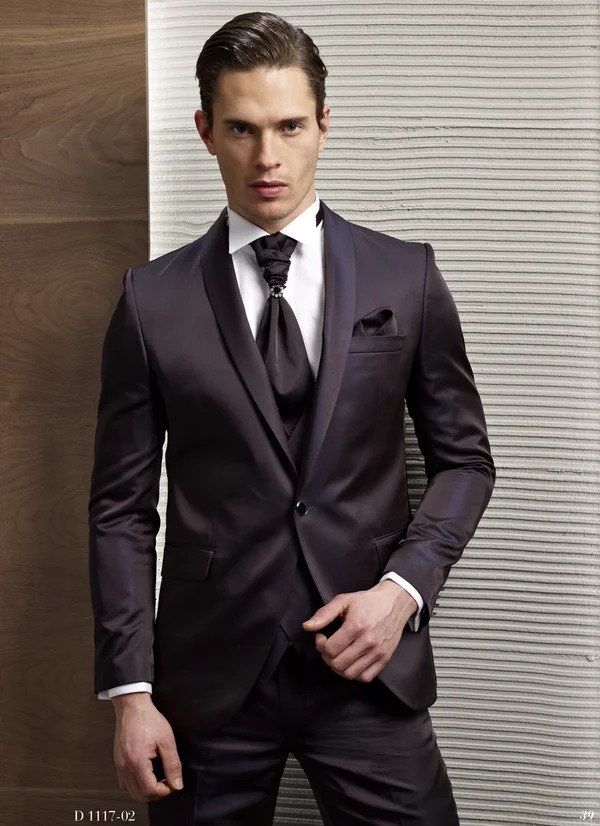
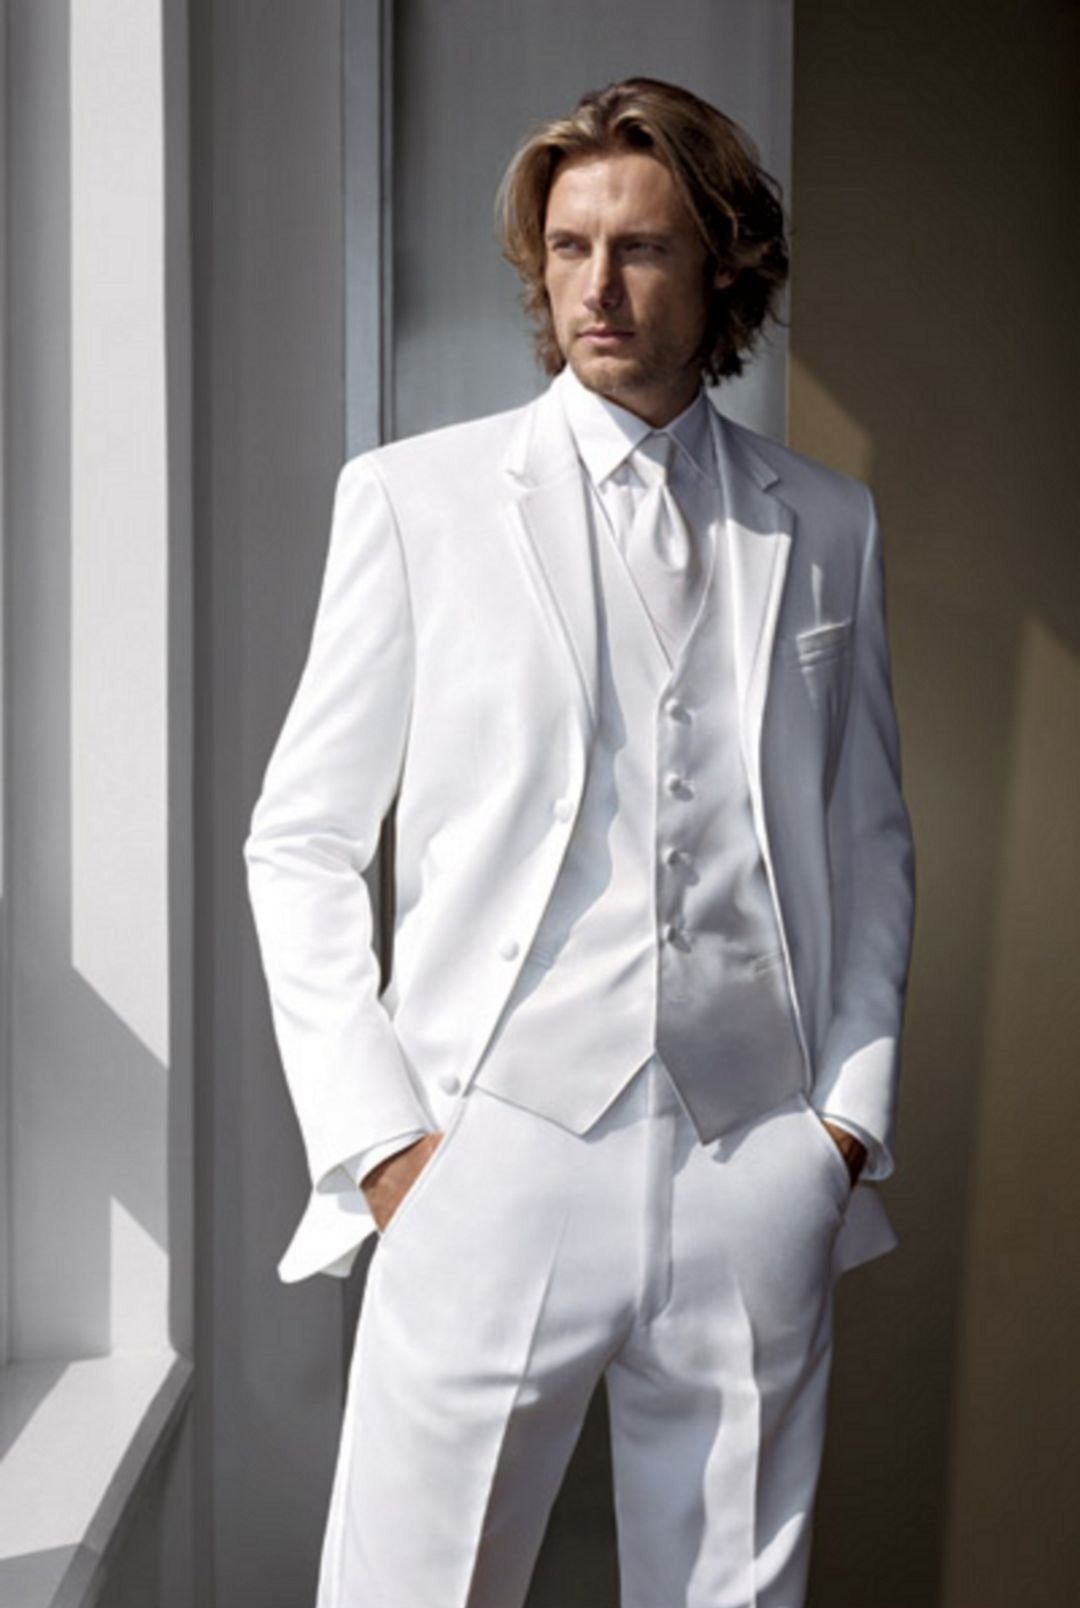
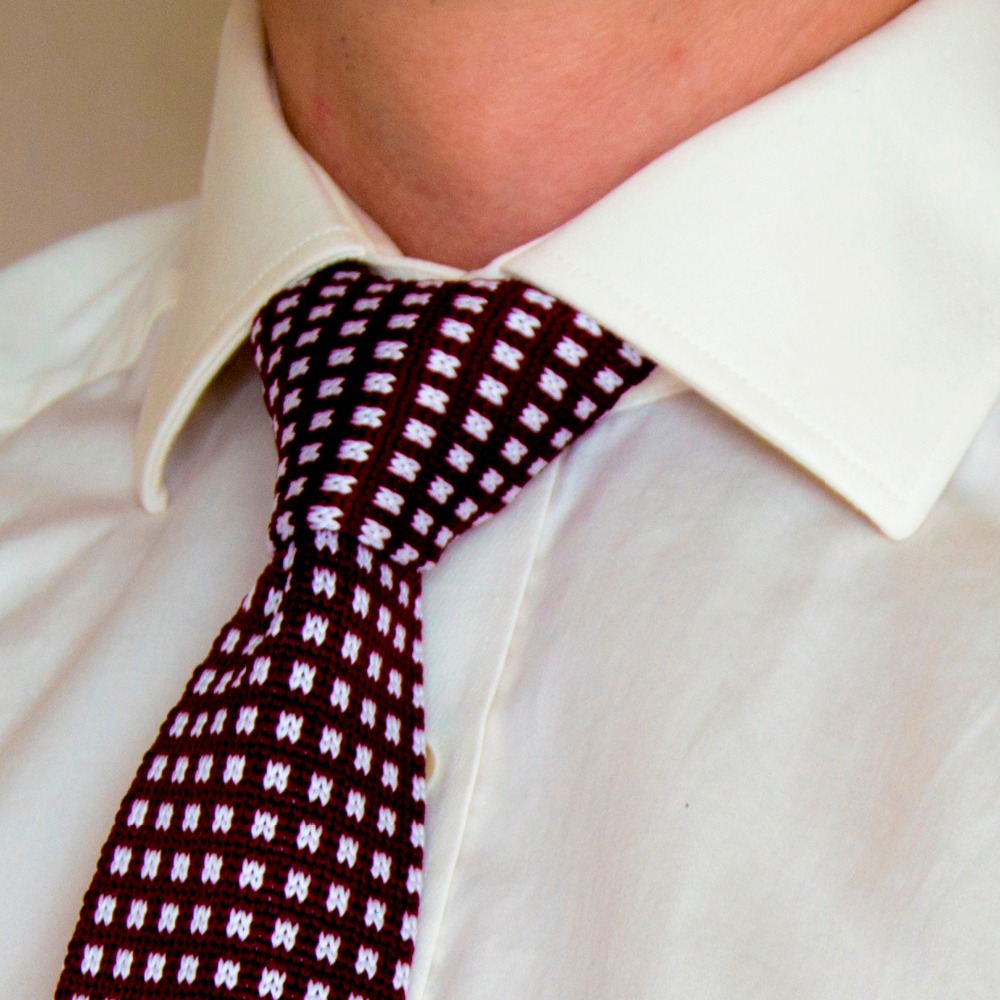
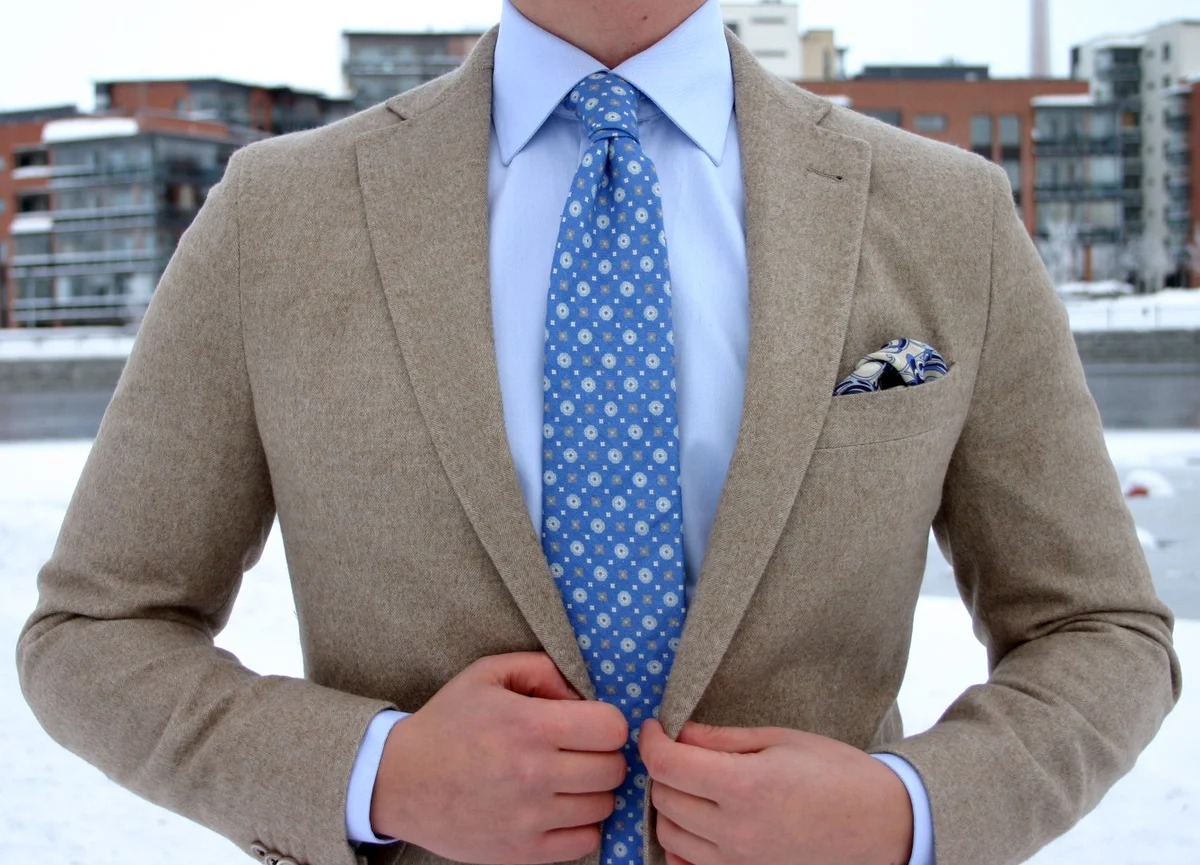
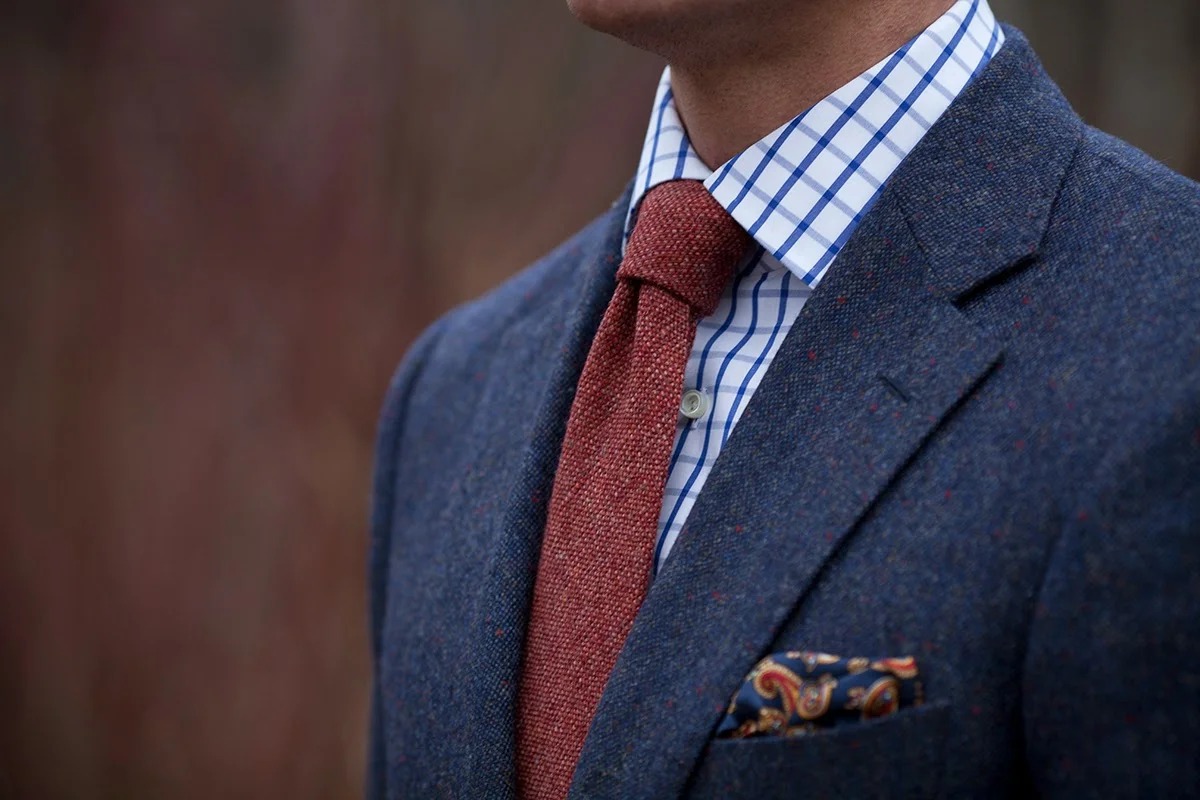
- Choose a color. For example, for a navy suit, a red, burgundy, light blue or blue tie is suitable. Any of these colors look perfect with a white chemise. A silver or white tie goes well with a white suit and white shirt.

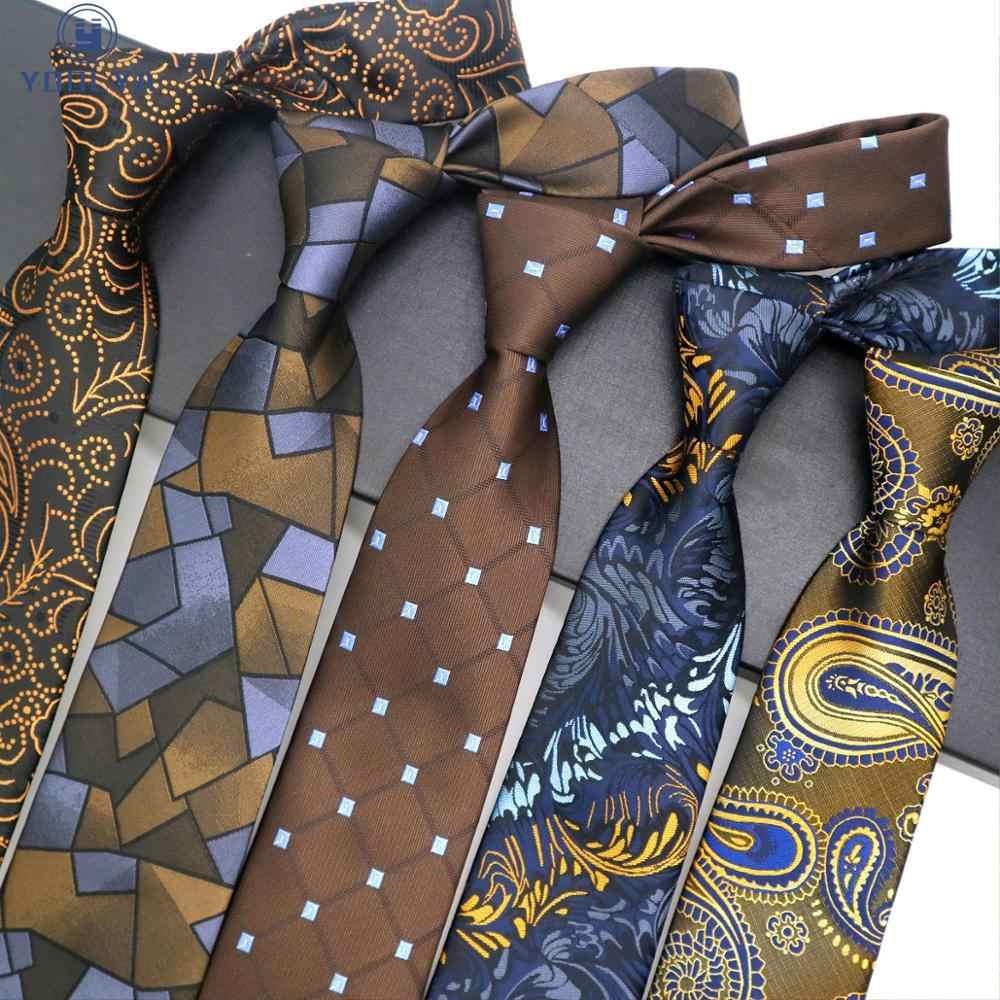
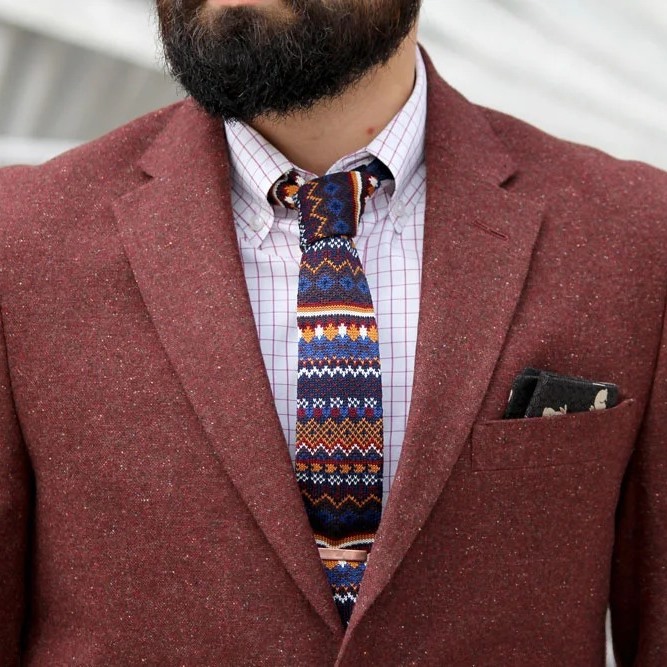
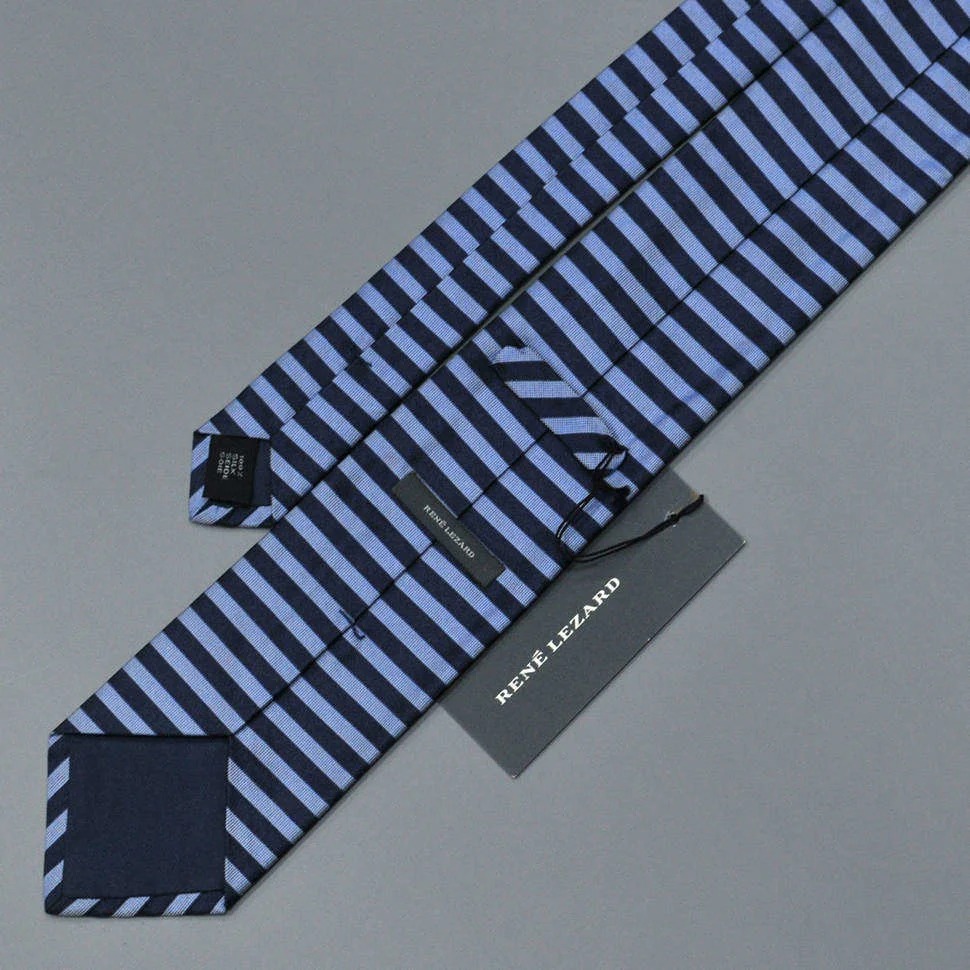
Select a drawing. In a suit, complemented by a solid dark blue accessory, it is worth going to business negotiations, and a tie with a bright print should be used for a party. There are universal options that are suitable for the office and for friendly gatherings. For example, a tie with bright stripes, with an ornament or with "cucumbers".


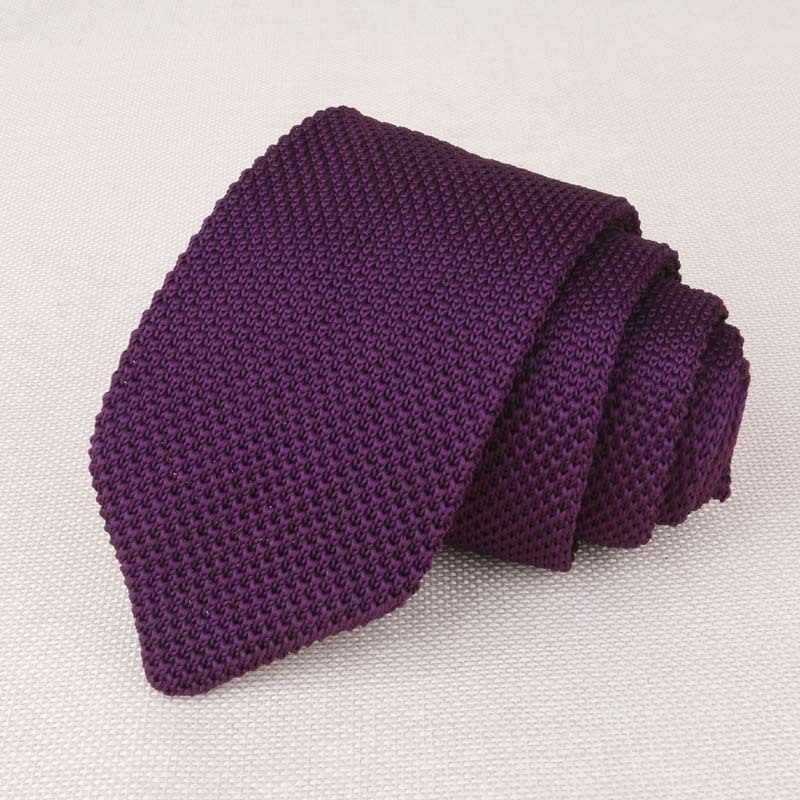
Select material. Mostly products are made from natural or artificial silk fabrics. Microfiber is suitable, which looks "expensive and rich", but the quality is not inferior to products made from natural materials. For summer, it is worth looking at linen and cotton products. For a cold winter, you should pay attention to a tie made of tweed, wool or cashmere.
After that, you can go to the store for a tie. However, the buyer runs the risk of running into a fake, even in a branded boutique. Therefore, you should carefully examine the tie before buying. The following points deserve special attention.
The width of the tie matches the width of the lapel or blazer. Therefore, beginners should choose an accessory in a suit with which they are supposed to wear the acquired tie.
There are two fasteners on the inside of the product. They are located at the top and bottom of the accessory and act as a kind of clamps. Thanks to this detail, the product sits like a glove, without causing any inconvenience to the man.
There is a loop on the back of the tie that holds the narrow end of the tie behind the wide one. Sometimes the manufacturer's tag plays the role of such a loop. There are models that are equipped with both retainers. As a rule, the latter are the highest quality products.
The body of a tie (or envelope) consists of three elements: a wide part (proscenium), a collar (worn around the neck) and a backdrop (or a narrow part of an accessory). Density should be felt, because for sewing this product, several layers of woven or knitted material are used.
When stretched, the tie smoothly takes its previous shape, and does not spring like a rubber product. Such a product will retain its shape and serve for many years.
The correct cut is made on fabric cut at a 45 degree angle. You can easily verify this by trying on a tie right in the store.If the product does not warp, and the pattern is not distorted, the manufacturers followed the rules and created a quality product.
When the choice is made, it is worth moving on to the next stage and learning how to tie a tie correctly.
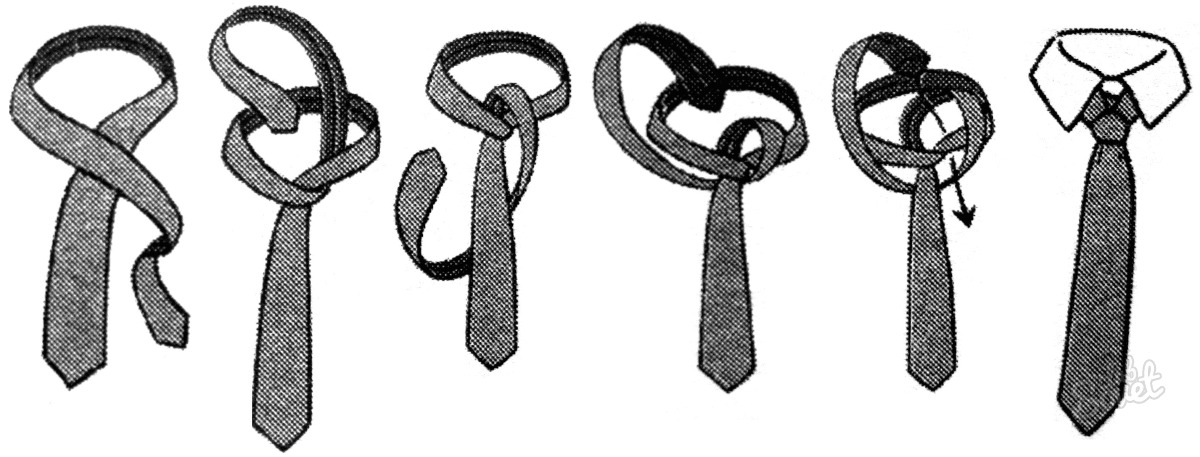
Classic version
There are many unusual ways to decorate a tie knot. However, for beginners, take a closer look at the classic version. This knotting method is simple, easy to learn, and a quick skill gained will inspire men to learn new tricks. To see how simple this option is, it is worth taking a step-by-step look at its scheme.
Place the extended part on the left and the narrow (small) part on the right.
Sketch the extended part of the tie over the small one.
Circle the extended part around the small seam from left to right outward.
Bring the extended part to the left and loop around the small part. As a result, you should get a loop.
Throw the extended part over the top and drag it into the resulting loop.
This option is ideal for men who do not know how to tie a tie yet. When this method succeeds, it is worth trying other methods of tying this stylish accessory.

Other easy ways
Even a strict office dress code allows you to create a fun and stylish look.
Simple yet effective ways to tie a tie will allow you to add a twist to your everyday look every day.
It is worth learning how to correctly execute any of these interesting knots.
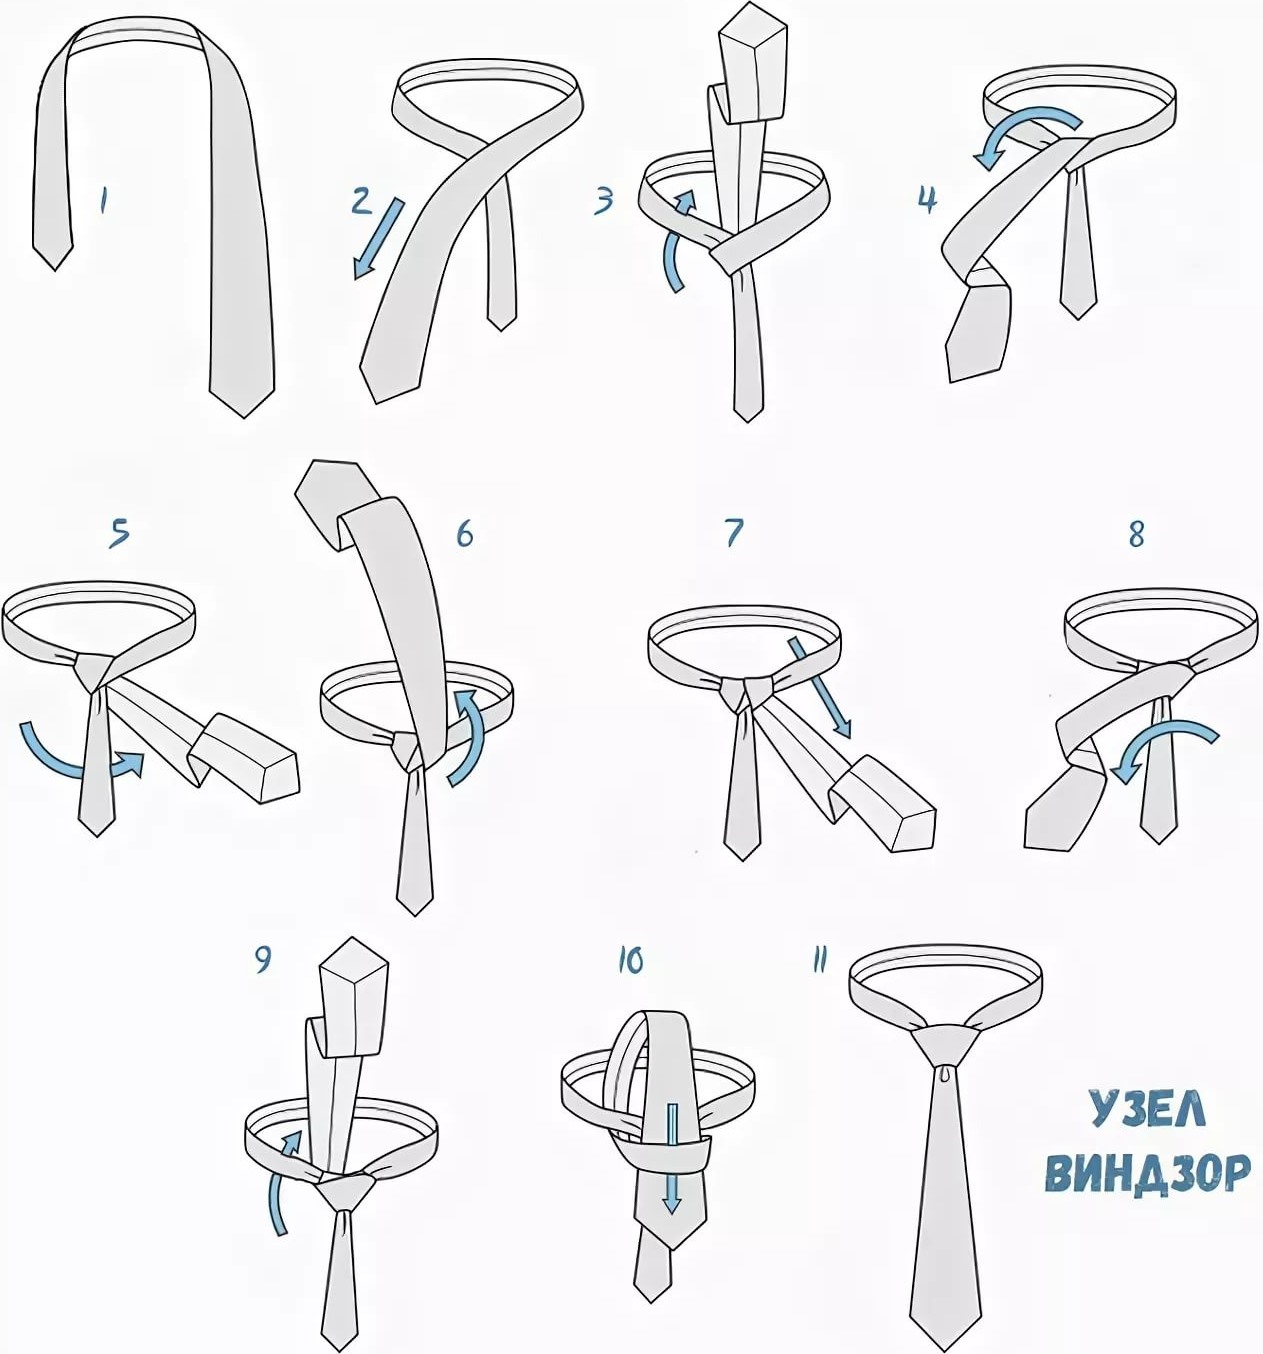
Windsor knot
This technique is the choice of active, strong and confident men. Leaders by nature, they are completely devoted to their work and strive to conquer career heights. Tying such a knot is easy, just familiarize yourself with the diagram.
Throw the product with a seam inside (the seam is in contact with the shirt). The narrow end rests on the left shoulder, the wide end on the right.
Bring the extended part up through the eyelet and gently stretch it in front of you.
Pull the flared part down and move to the side of the right hand. You should get a new loop. It is stretched so that the wider part is facing outward.
The extended side of the tie is drawn on top and pulled out from the right side.
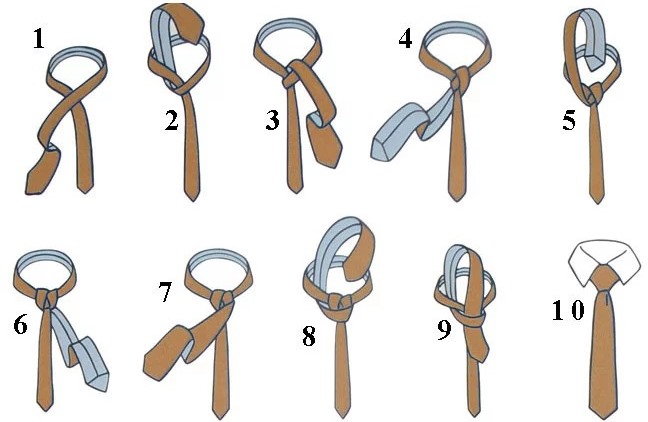
Double knot
The best option for large business meetings, presentations or press conferences, when there is no time to correct and bandage.
Put on the tie so that a small part is on the left shoulder, and a wide part is on the right. Both parts should be seam to the shirt. At this stage, make sure that the product is positioned correctly and do not rush to get started.
Cross the pieces and translate the extended to the right. Make sure not to twist the seam.
It is necessary to make a turn of the extended side around the small one. With a correct turn, the wide part will be on the left.
Tighten the product slowly with the small part on top and the extended part on the right. The result is a loop.
A knot is tied over the loop with the extended part and turned to the left through the gap in the neck.
The extended part is pulled through the loop and tightened neatly.
When all is done, the tie should be straightened out to highlight the beauty of the double knot.

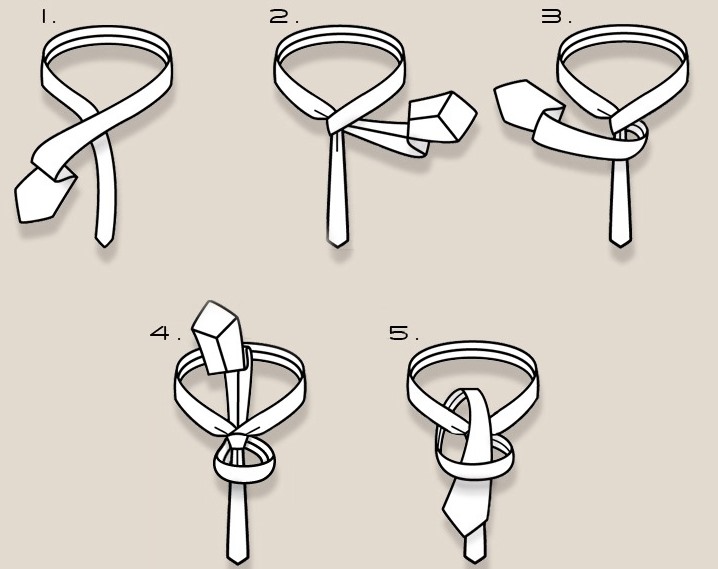
Quarter knot
This method will decorate the costumes of the stronger sex, who are bored with the classics, but not ready for general attention. This is the choice of hard workers who do not want to waste time on empty entertainment. Here's what the step-by-step instructions look like for this option.
Throw a tie with a seam inside. Small part on top of the extended one. The latter should be extended from the side of the right hand.
The extended part is retracted to the left side. A loop is formed through which it is pulled. With a simultaneous movement, the tie is pulled up, holding it so as not to tighten it too much.
At the final stage, the flared side is located in the immediate vicinity of the shirt collar.

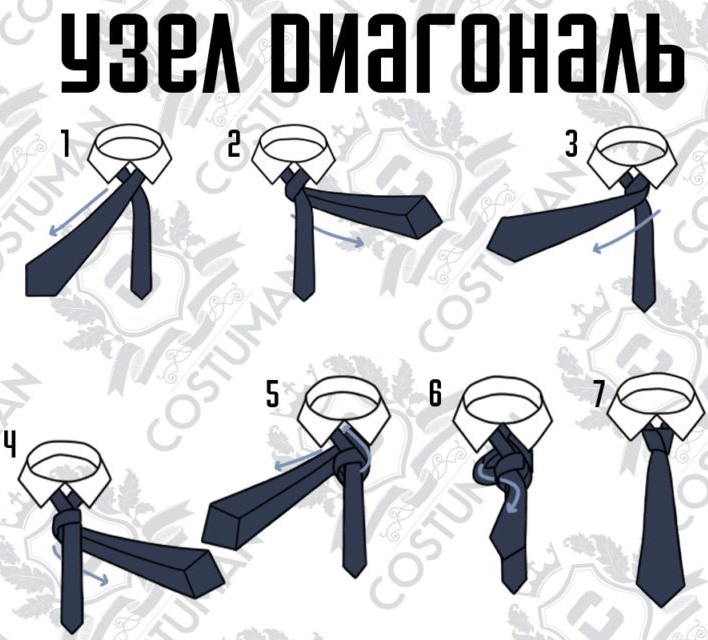
Diagonal knot
Suitable for office events and for a romantic date. Unusual performance will attract attention and ideally complement the image of a stylish man.
Throw the tie with the seam inside (the seam is adjacent to the shirt). The widened part on top of the small one.
Stretch the extended part from below, take it to the right and make a turn around the small side of the tie. If done correctly, a small part remains on the right hand.
The extended part is pulled out and thrown over the loop on the neck. The extended end of the tie is brought out to the left side.
Most of it is pulled into the resulting loop and carefully tightened.
Cross knot
To emphasize elegance and good taste, men should master the cross tie knot. The scheme is a little more complicated than the previous nodes, but in order to succeed, you will have to practice a little.
Throw on a tie so that the seams are in contact with the shirt. The small part is thrown over the extended one and set aside to the right.
Bring a small part under the extended one and make a loop.
Bring the extended part of the tie up. After that, the knot is tightened and gently straightened.
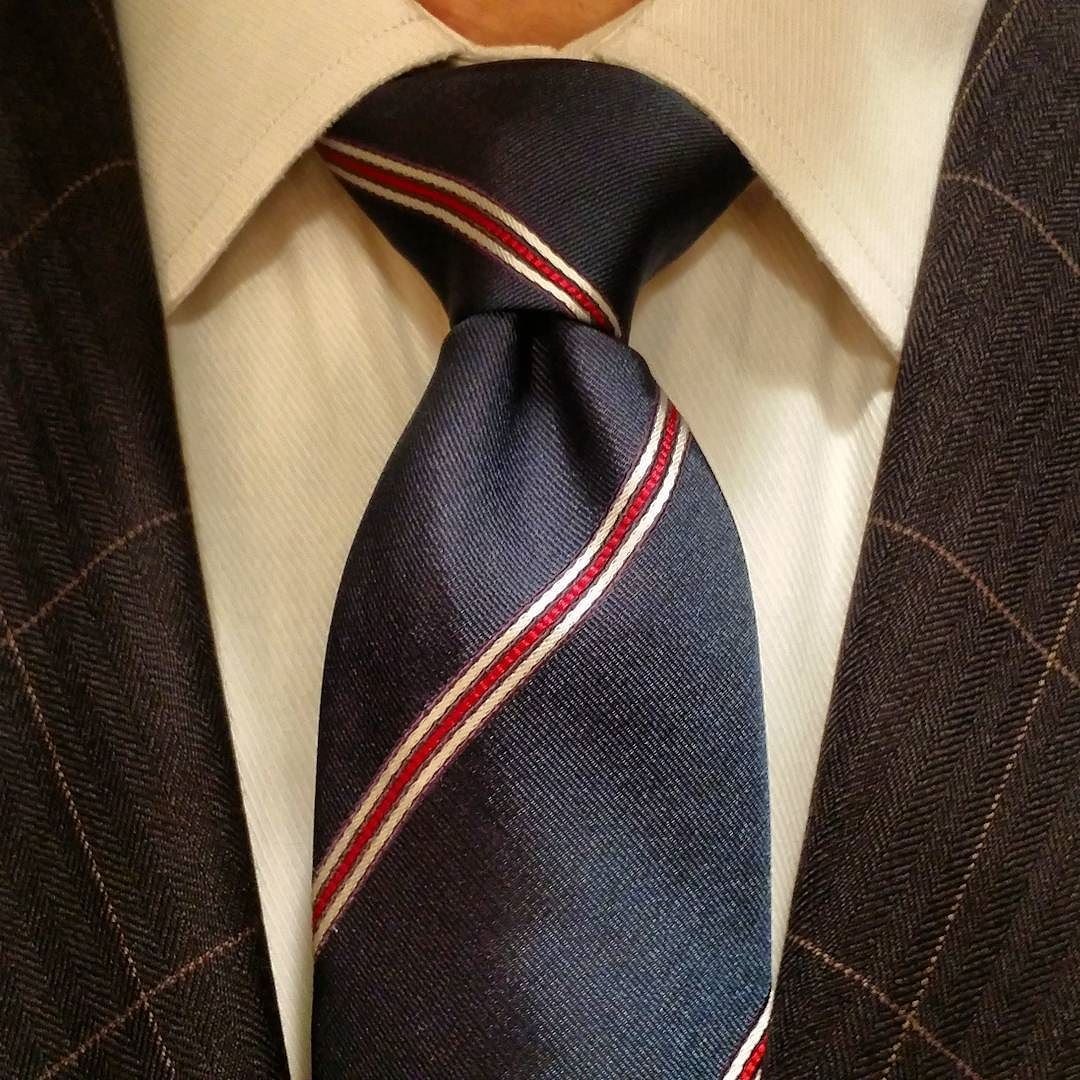
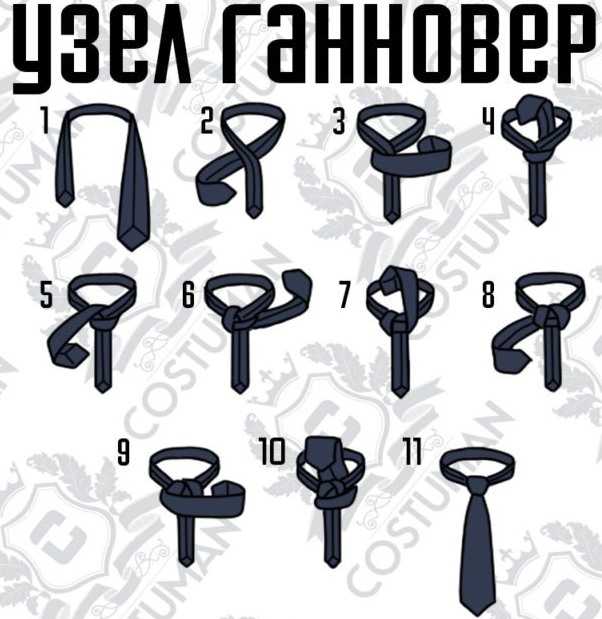
Hanover
Hanover is a classic triangular knot. The symmetry of this simple design will appeal to male perfectionists and lovers of strict order.
Throw the tie with the seam out. Cross both sides of the product so that their seams are also visible.
Toss the small part over the extended part to the right.
Start the extended part behind the small one and direct it in the same direction.
Form the loop from bottom to top, and then stretch the extended part down and to the left.
A loop is made near the knot, and the expanded part is brought out into a loop in the neck. With the correct technique, the flared side bends around the base of the tie from left to right.
Place the flared section at the back of the loop near the neck and tighten the knot.
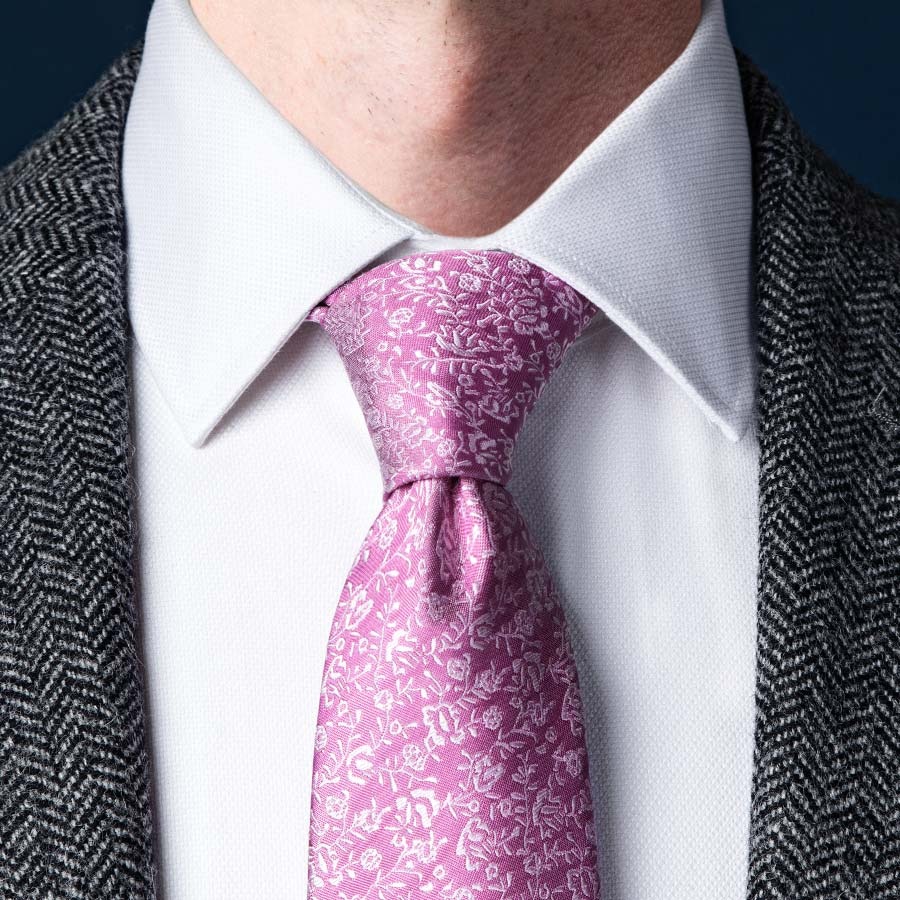
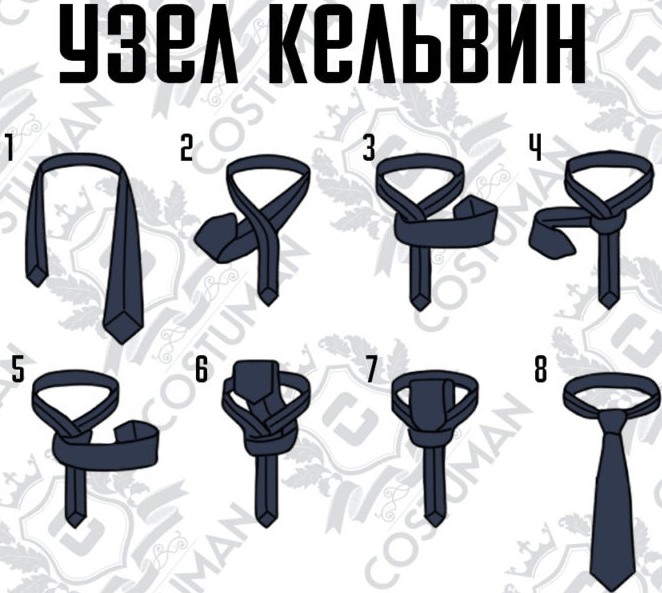
Kelvin Knot
The Kelvin knot is suitable for office everyday life, and for a corporate party, and for a romantic dinner. A tie tied with this knot will be the optimal addition to the image of a modern man.
Throw the tie with the seam up.
Throw the small part to the right with the seam up. As a result, it should be on top of the extended part.
Draw a circle around the small side of the extended one. If everything is done correctly, the extended part will "go" to the left.
Place the extended part of the product over the knot and drag to the right.
Pass the widened part of the tie through both loops.
Advice
The purchase has taken place, and the happy owner of the fashion accessory is ready to learn the art of tying tie knots. However, some tie knots will really become a stylish addition to the image, while others will bring some dissonance. In order not to become the object of ridicule, you should heed the advice of professionals!
If the product is made of silk or cotton fabric, give preference to strict classics or Windsor. For tweed or wool ties, a quarter knot is ideal. Knitted products are tied in a similar way.
Bulky knots like Windsor or Hanover will not work for tight men with short necks. Also, the knots will look ridiculous with thinness.
When choosing a tie knot, it is worth measuring the angle between the ends of the shirt collar. If the obtained value is over 130 degrees, knit both small and large knots. This shirt opens up a wide field for experimentation. If the angle is less than the specified value, knit small classic knots.
For a shirt with a wide collar (8-10 cm), massive knots are suitable. On shirts with a narrow collar, it is worth tying small classic knots. A similar rule applies to jacket lapels: the narrower the lapels, the smaller the knot.


Each tie knot can be complemented with small dimples or dimples. It is not difficult to make such a decoration. It is enough to hold the center of the product with your fingers, and then tighten it.There is another option, when the edges of the product are slightly bent up, and then pass it through the loop, holding it in this position.
Regardless of the type of knot and jewelry, a properly tied knot completely covers the front of the collar. The collar should protrude no more than 1 mm due to the tie knot.
Experts believe that experimenting with knots and decorations is permissible on any tie. After all, this is the only way to understand what really suits a specific case and what suits an individual man. At the same time, experts talk about the need for the correct operation of the product.
Always untie the tie before removing it. If the owner takes off the product over his head every time, loosening or tightening the knot, the tie will quickly become unusable.
During tying, you cannot pull the ends with force. All movements are performed calmly and accurately.
In order for the product to wear out evenly, it is worth mastering several different knots and alternating them.
These simple precautions will prolong the life of the product, and it will serve you for a long time, causing the admiration of women and the envious sighs of your colleagues.

For step-by-step instructions on how to correctly and beautifully tie a men's tie, see the video.


